beideo.com Home Decor Ideas

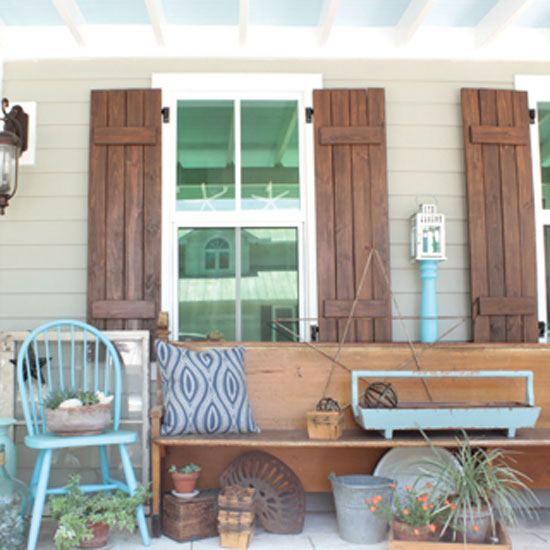
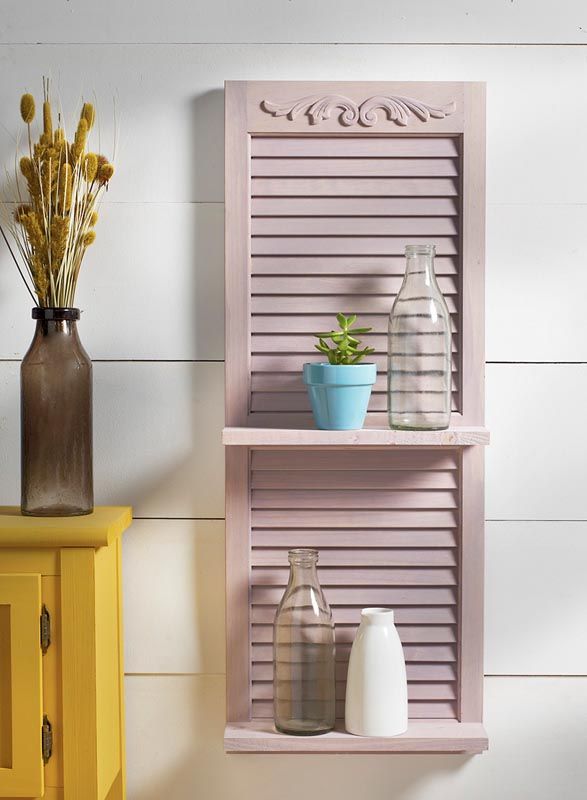
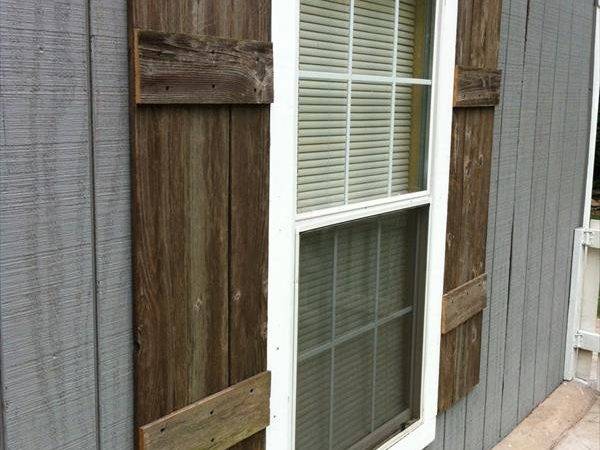
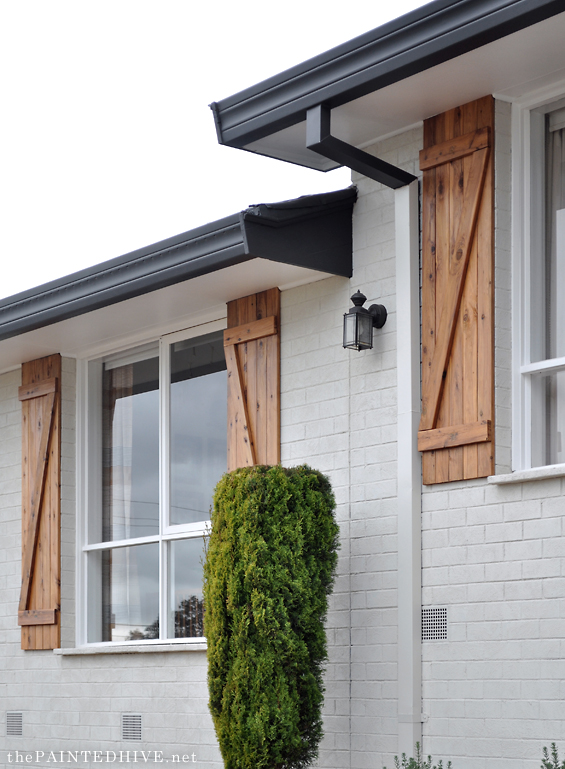
In order for your home to look beautiful, you need to take care of both the inside and the outside of your home. The installed shutters go a long way in ensuring that your property is stylish and trendy. There is a wide range of roller shutters available in the market, but DIY roller shutters lead the way. These shutters are a fashionable alternative to curtains and blinds. The wide range of shades of color gives your home a fantastic look both indoors and outdoors.
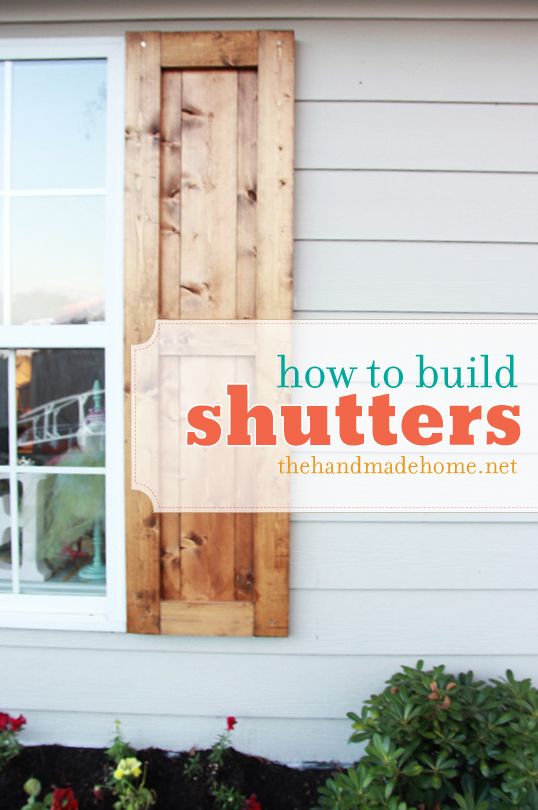
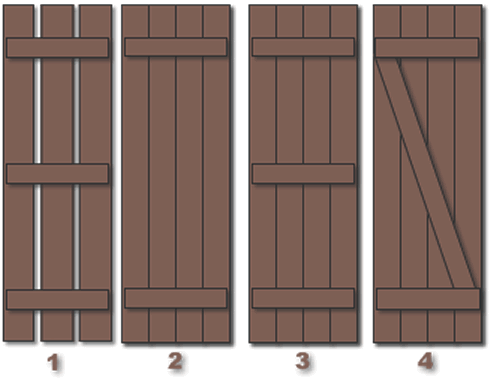
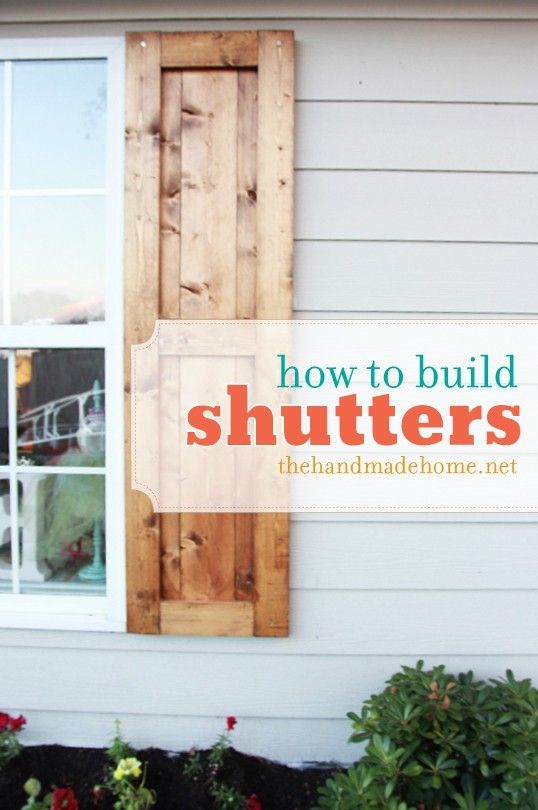
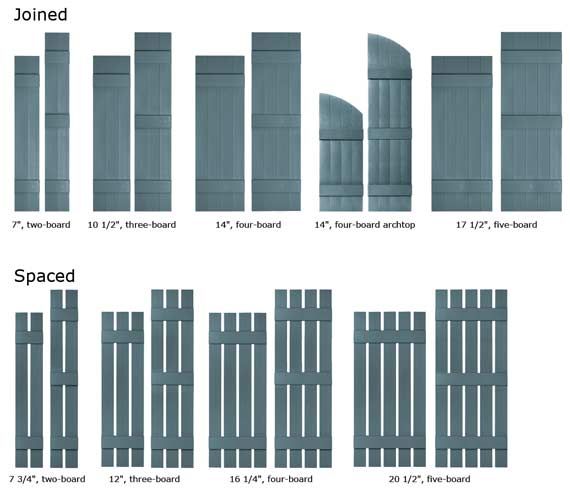
If you want to install roller shutters in your own home, you need to proceed step by step. The first step is choosing the right closure. Most often, wooden shutters are used, but they are also made from a variety of composites and plastics. Wooden shutters require more regular maintenance than other materials like aluminum and vinyl. Choose the closure that suits your style.
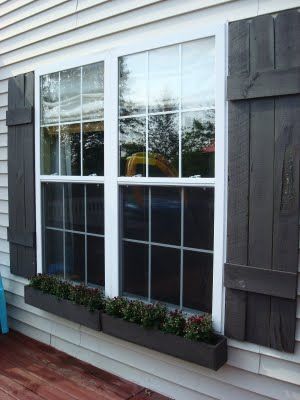
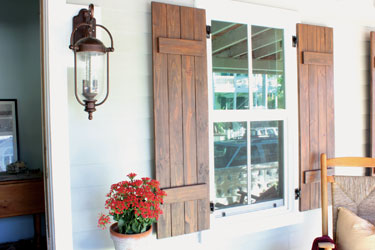
The frame of the lock must also be considered. The frame should be fixed in such a way that there are no obstacles when opening or closing the door or window. Drill pilot holes and then screw them through the fastener frame and into the window frames at the top, bottom, and center of each part. Once the frame is in place, it’s time to hang the shutters. Follow the DIY window instructions to position the shutters. Depending on the window area, you can choose full-height, cafe-style, floor or in-floor shutters. Solid DIY shutters are traditional and safe. They are either completely covered or partially solid.
We also provide proper fitting and measuring guides to help you easily install our DIY wood plantation shutters. We use male and tenon joints to make the lock permanent and stable.